
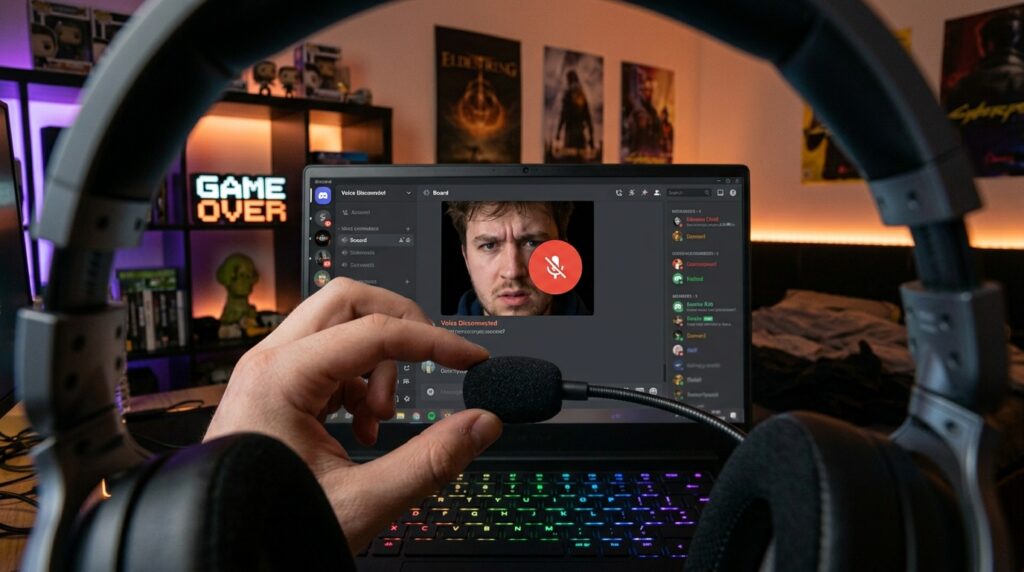
There is nothing worse than jumping into a Discord voice channel to clutch a match with your friends, only to realize you are shouting into the void. Your green circle isn’t lighting up, your friends are asking if you’re muted, and you’re furiously tapping your headset.
Last week, I spent a solid 45 minutes troubleshooting this exact issue on my Windows laptop. Everything worked fine in Zoom for work, but the second I opened Discord, it was absolute radio silence. It drives you crazy because laptops have so many overlapping audio layers—hardware switches, Windows privacy settings, proprietary audio software (looking at you, Realtek), and Discord’s own massive suite of voice processing algorithms.
If your Discord mic is refusing to detect your voice on your laptop, stop pulling your hair out. I’ve broken down the exact step-by-step checklist I used to get mine working again, moving from the quickest fixes to the slightly deeper system settings.
The “Dumb” Mistakes We All Make (Start Here)
Before we start tearing apart your laptop’s device drivers, let’s rule out the simple, facepalm-worthy mistakes. Trust me, I’ve done all of these.
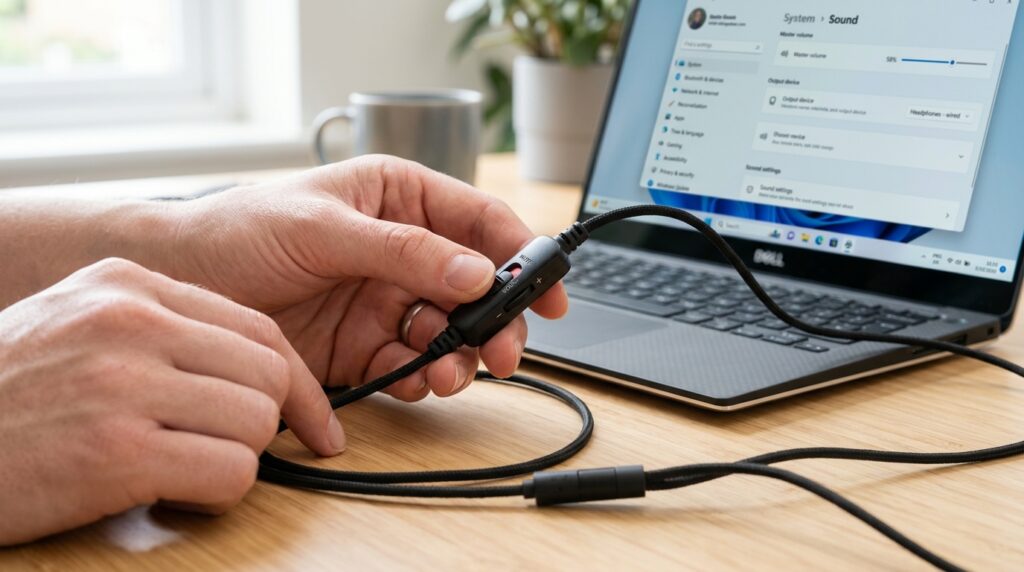
- The Inline Mute Switch: If you are using a wired headset plugged into your laptop’s 3.5mm jack or a USB port, check the physical cable. Many headsets have a tiny sliding mute switch on the inline control box or a flip-to-mute microphone arm.
- The USB Hub Ghost: Laptops are notorious for power-throttling USB ports. If your mic or headset is plugged into a cheap USB hub or docking station, it might have enough power to light up the RGB LEDs but not enough power to properly transmit audio data. Plug the mic directly into the laptop chassis.
- The Discord Mute Status: Look at the bottom left corner of your Discord window next to your avatar. Is the microphone icon slashed through with a red line? Did you accidentally toggle your “Mute” or “Deafen” keybind while typing furiously?
If none of those are the culprit, the issue lies deeper within how Discord communicates with your laptop’s hardware. Let’s systematically fix it.
Step 1: Force Discord to Reset Its Voice Settings
Discord’s audio subsystem is incredibly complex because it tries to do a lot of heavy lifting—echo cancellation, noise suppression, and automatic gain control. Sometimes, the software’s internal audio cache just gets corrupted.
Instead of trying to tweak individual sliders, the fastest fix is to completely wipe the voice configuration and start fresh.
- Open Discord and click the User Settings gear icon next to your username in the bottom left.
- Scroll down the left sidebar and click on Voice & Video.
- Scroll all the way down to the very bottom of the page.
- Click the bright red Reset Voice Settings button.
- Discord will ask you to confirm. Click OK, and the app will refresh itself.
Once it reboots, go back to the top of the Voice & Video page. Click Let’s Check and speak into your mic. If you see the input bar light up green, you’re golden. If not, keep reading.
Step 2: Fix the Windows Privacy Wall
If you recently ran a Windows Update, this is the most likely cause of your silence. Microsoft regularly pushes security patches that silently reset your microphone privacy permissions, blocking third-party desktop apps from accessing your hardware.
If Windows is blocking the mic at the OS level, Discord can’t hear you, no matter what settings you change inside the app.
- Press the Windows Key + I to open your laptop’s Settings app.
- Click on Privacy & Security (or just Privacy on Windows 10).
- Scroll down under the “App permissions” section and click on Microphone.
- Make sure the toggle for Microphone access is turned On.
- Scroll down to Let desktop apps access your microphone and ensure that toggle is also turned On.
- Look through the list below it and make sure Discord is explicitly allowed.
Once you toggle this on, restart Discord completely (right-click the Discord icon in your Windows system tray and click Quit Discord) and check if your voice is registering.
Step 3: Match Your Input Devices (The Laptop Trap)
Laptops confuse audio drivers because they have at least two microphones built-in: the tiny pinhole mic next to your webcam and the actual microphone on your headset or external USB setup.
When you leave Discord’s Input Device set to “Default,” it relies on Windows to tell it which mic to use. If Windows gets confused, Discord defaults to a dead port or a disabled internal mic.
- In Discord, go back to Settings > Voice & Video.
- Look at the Input Device dropdown menu at the top.
- Do not leave it on “Default.” Click it and manually select your specific microphone (e.g., “Microphone (HyperX SoloCast)” or “Microphone Array (Realtek High Definition Audio)”).
- While you are here, make sure your Input Volume slider is pushed all the way to 100%.
Real-Life Note: If you are using a Bluetooth headset (like AirPods or Sony WH-1000XM4s) on a Windows laptop, you will likely see two profiles in this list: “Stereo” and “Hands-Free AG Audio.” If you want to use the mic, you must select the Hands-Free option as your input device. The downside? Windows Bluetooth bandwidth limits will drop your output audio quality down to old-school telephone levels. If you want high-quality game audio and clear mic quality simultaneously on a laptop, a wired connection or a dedicated 2.4GHz wireless USB dongle is always better than Bluetooth.
Step 4: Stop Discord from Guessing Your Voice Sensitivity
By default, Discord uses a feature called “Automatically determine input sensitivity.” It analyzes the background noise in your room and dynamically changes the threshold required for your voice to break through the gate.
If you have a quiet voice, a laptop fan that sounds like a jet engine, or a mic that sits far from your mouth, Discord’s algorithm might decide your actual voice is just background noise and completely filter it out.
- Go to Settings > Voice & Video.
- Scroll down to Input Sensitivity.
- Toggle Automatically determine input sensitivity to Off.
- Manually adjust the slider. Speak into your mic at your normal talking volume. You want the slider set so that when you speak, the yellow bar jumps well into the green zone. When you are silent, the ambient room noise should stay in the yellow zone.
Step 5: Change the Audio Subsystem Mode
Discord is built on web technologies, and it updates its core audio architecture constantly to support new spatial sound features and noise cancellation tech. However, older laptop motherboards and integrated sound cards sometimes clash with Discord’s latest audio subsystem.
Switching back to the “Legacy” audio engine forces Discord to use basic, highly stable Windows audio protocols.
- Navigate to Settings > Voice & Video.
- Scroll down until you find the section labeled Audio Subsystem.
- Click the dropdown menu and change it from Standard to Legacy.
- Discord will prompt you to relaunch the app. Let it restart and test your mic.
Changing to Legacy disables a few advanced features like Krisp noise suppression, but it is an absolute lifesaver for older laptops or systems running stubborn Realtek audio drivers.
Step 6: Deal with Exclusive Mode and Sample Rate Mismatches
If you’ve tried everything above and Discord is still ignoring your voice, we need to look at how Windows shares audio hardware.
Windows allows certain applications to take “Exclusive Control” of a sound card. If an app like Skype, Zoom, or a DAW (Digital Audio Workstation) takes exclusive control of your mic, it will completely lock Discord out. Additionally, if Discord is trying to listen at a sample rate your hardware doesn’t support, the stream breaks.
Here is how to fix both hardware conflicts in one go:
- Press the Windows Key + R to open the Run dialog box.
- Type
mmsys.cpland hit Enter. This opens the classic Windows Sound Control Panel (which is much better than the modern Windows Settings app for fixing hardware issues). - Click on the Recording tab at the top.
- Find your microphone, right-click it, and select Properties.
- Go to the Advanced tab.
- Under Exclusive Mode, uncheck both boxes: “Allow applications to take exclusive control of this device” and “Give exclusive mode applications priority.”
- While still on the Advanced tab, look at the Default Format dropdown. Set it to 2 channel, 16-bit, 48000 Hz (DVD Quality) or 44100 Hz. Discord handles 48kHz best. If your mic is set to a crazy studio-grade sample rate (like 96kHz or 192kHz), Discord’s compression algorithm can fail to read it.
- Click Apply, then OK. Restart your laptop to make sure the changes register across all active services.
Common Mistakes to Avoid Moving Forward
Once you get your microphone working, try to avoid these common tech traps that can break your audio settings all over again:
- Running Discord as Administrator Constantly: Unless a specific game requires it for your Push-to-Talk keybinds to work while in-game, avoid running Discord as an administrator. It changes how the app interacts with Windows background services and can break audio device detection.
- Installing Conflicting Audio Suites: Avoid layering multiple voice modification or noise suppression apps simultaneously. If you are running VoiceMeeter, SteelSeries Sonar, Krisp, and ASUS AI Noise Canceling all at once, they will fight over your microphone stream, resulting in robotic audio or complete dropouts. Pick one ecosystem and stick to it.
- Ignoring Laptop Manufacture Control Centers: Laptops from brands like ASUS (Armoury Crate), Lenovo (Vantage), or HP (OMEN Gaming Hub) have their own built-in microphone optimization settings. If your mic suddenly stops working, check these apps to ensure a global “Mic Mute” macro wasn’t triggered by a keyboard hotkey.
Wrapping Up
Nine times out of ten, a Discord mic issue on a laptop boils down to either a mismatched Input Device inside Discord or Windows revoking Microphone Privacy Permissions after an OS update.
If you work your way down this list from top to bottom, you should be back to chatting with your group in no time without having to buy a brand-new headset. What ended up fixing the issue for your specific laptop setup? Let me know down in the comments below!