
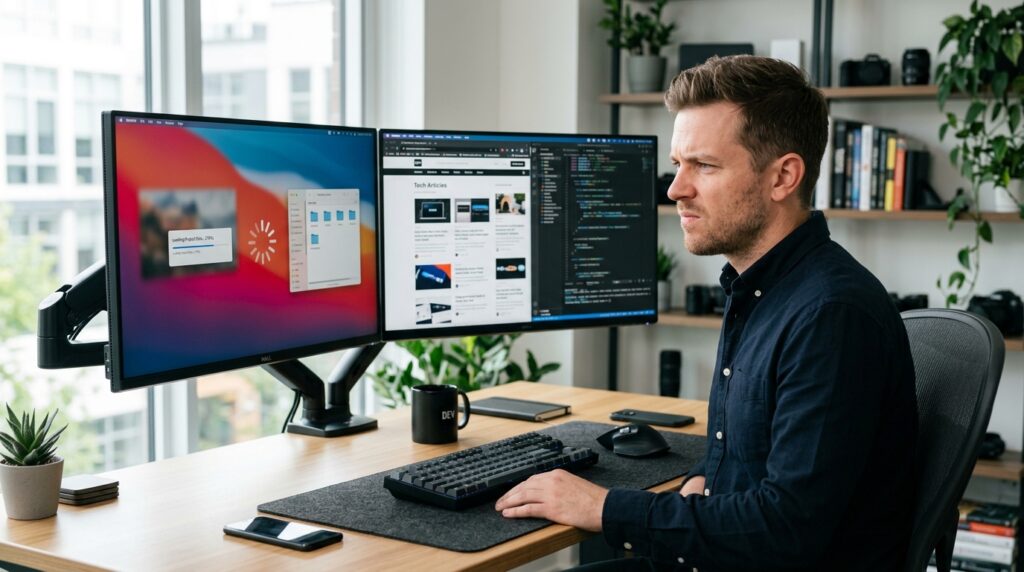
I woke up a few days ago, turned on my PC, and was greeted by that familiar, slightly ominous blue screen: “Updates are underway. Please keep your computer on.” I sighed, scrolled on my phone for a bit, and waited for Windows 11 to finish its thing.
Once it booted to the desktop, I figured I was good to go. But the moment I opened my browser, everything felt… heavy. Clicking a tab took a noticeable second. File Explorer dragged its feet just opening my downloads folder. Even typing felt like my keyboard was swimming through molasses. My snappy, fast PC had suddenly turned into a sluggish machine, right after a routine Cumulative Update.
If this is happening to your machine right now, don’t throw your laptop out the window just yet.
As someone who builds computers, writes code, and uses Windows daily, I’ve dealt with post-update slowdowns across dozens of machines. Microsoft fixes bugs with updates, but they also frequently break background configurations, reset power profiles, or leave behind massive piles of digital garbage that choke your system.
Let’s skip the generic “restart your computer” advice and walk through the exact, hands-on steps I used to fix my system and get Windows 11 flying again.
The Mistakes We Make When Windows 11 Slows Down
When your PC starts lagging, it’s easy to panic and try a bunch of random fixes you see online. Here are a few things I used to do—and that you should avoid—because they usually make the problem worse:
- Installing “PC Registry Cleaners” or Booster Apps: Avoid software like CCleaner, IObit Advanced SystemCare, or any random tool claiming to “boost performance by 300%.” Windows 11 has built-in maintenance tools. Third-party registry cleaners often delete critical system links, causing blue screens ($BSODs$) down the line.
- Disabling Windows Update completely: It’s tempting to pause updates forever out of spite, but running an outdated operating system leaves you vulnerable to security exploits. The goal is to optimize the update, not break the system’s security.
- Messing with
msconfigadvanced processors: There’s a viral myth that checking the “Number of processors” box inmsconfigspeeds up your boot time. It doesn’t. It’s actually a debugging tool designed to limit your cores, and checking it can cause boot loops. Leave it alone.
Step 1: Give It a Moment (The Invisible Background Task)
Before changing any settings, understand that Windows 11 does a massive amount of heavy lifting right after an update finishes.
Even though you are looking at your desktop, Windows is quietly running background tasks like rebuilding the search index, pre-compiling $.NET$ frameworks, and optimizing system binaries. If your update finished less than an hour ago, your CPU might just be pegged by these temporary tasks.
Open your Task Manager (Ctrl + Shift + Esc) and look at the Processes tab.
If you see processes like Windows Search Indexer, Antimalware Service Executable (Windows Defender), or Modern Setup Host consuming high CPU or disk usage, your system is just finishing its post-update chores. Leave your PC plugged in and idling for about 30 to 40 minutes. Often, the lag disappears on its own once these processes finish.
Step 2: Clean Out the Update Leftovers
If the sluggishness persists past an hour, it’s time to take action. When Windows updates, it saves copies of all the old operating system files just in case you need to roll back. If your drive is getting full, this sudden drop in storage space can cripple your $SSD$ performance.
Windows $SSDs$ need roughly 15-20% of free space to run efficiently. Let’s purge the digital trash.
1.Open Storage Settings:Step 1.
Press Windows Key + I to open your Settings panel. Navigate to System on the left menu, then click on Storage in the main section.
2.Access Temporary Files:Step 2.
Let Windows calculate your space usage for a moment. Once it finishes loading, click on the Temporary files category.
3.Select Windows Update Clean-up:Step 3.
Look down the list and check the box labeled Previous Windows installation(s) and Windows Update Clean-up. These files can easily take up 10GB to 30GB of space. (Note: Only do this if your PC is stable, as deleting this means you cannot roll back to the previous version easily).
4.Purge the Files:Step 4.
Click the Remove files button at the top of the list. Windows will safely delete the old cached installer blocks, freeing up vital space for your drive’s controller to breathe.
Step 3: Repair Corrupted System Files via Terminal
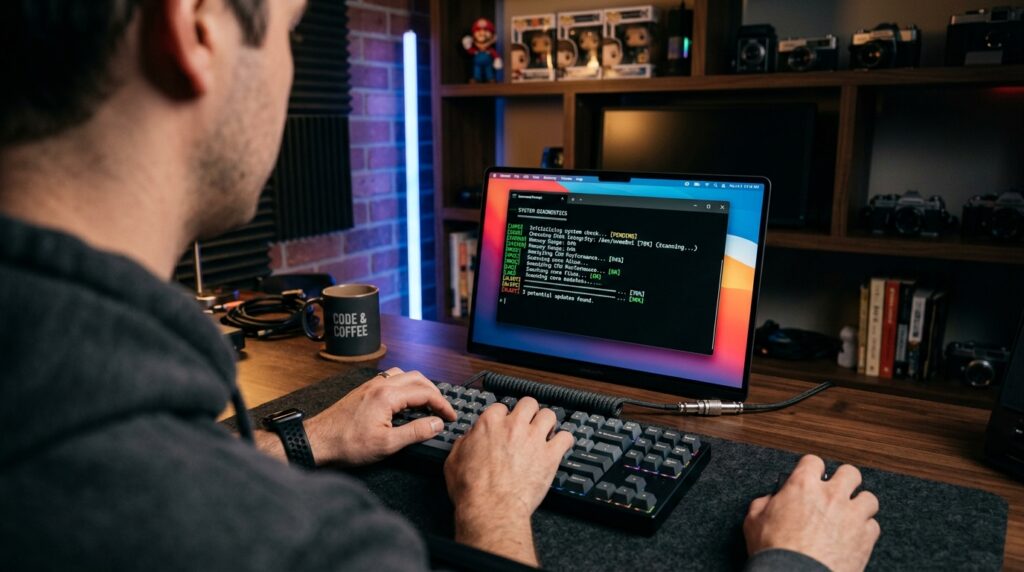
Sometimes, the update installation process goes slightly wrong, resulting in corrupted system files. This is incredibly common if your laptop battery died mid-update, or if your internet connection dropped while downloading packages.
Thankfully, Windows has a built-in self-repair engine. We just need to trigger it using the command line.
- Press your Windows Key, type cmd, right-click on Command Prompt, and select Run as administrator.
- Type the following command exactly as written and press Enter:$$\text{DISM.exe /Online /Cleanup-image /Restorehealth}$$This tells Windows to connect to Microsoft’s servers and download clean copies of any broken system components. Let this run until it hits 100%.
- Once that finishes, type this second command and press Enter:$$\text{sfc /scannow}$$The System File Checker will scan your entire local drive for corrupted code and replace it using the clean files DISM just verified.
Once the scan completes, it will either say it found no violations, or that it found corrupted files and successfully repaired them. Restart your computer immediately after this step.
Step 4: Fix the Power Plan Reset Glitch
This is a subtle issue that catches many users off guard. Major Windows 11 updates occasionally reset your hardware power management profiles back to the factory defaults.
If you are using a laptop or a compact desktop, Windows might have switched your performance profile to “Best power efficiency,” which limits your CPU clock speeds to save energy, making the entire interface feel laggy.
To fix this:
- Open Settings (
Windows Key + I). - Go to System > Power & battery (or just Power on a desktop PC).
- Look for the Power mode dropdown menu.
- If it is set to “Balanced” or “Best power efficiency,” change it to Best performance.
Changing this setting allows your processor to ramp up its clock cycles instantly when you open a heavy app, instantly eliminating that annoying input lag.
Step 5: Tame the New Background Startup Apps
Microsoft loves introducing new features, apps, and services during major updates (like Copilot features, widgets, or Teams overlays). Often, these updates add themselves to your system’s startup list, meaning they boot up the second you turn on your PC and run endlessly in the background, consuming RAM.
Let’s trim down the list of background apps:
| App Category | Why It Slows You Down | Recommended Action |
| OneDrive / Cloud Apps | Updates often trigger a full resync of your files, thrashing your disk read/write speeds. | Pause syncing temporarily or disable startup if you do not use it actively. |
| Third-Party Antivirus | Avast, McAfee, or Norton often conflict with updated Windows kernels, causing double scanning. | Ensure the app is updated to the latest version, or rely on built-in Windows Defender. |
| Manufacturer Bloatware | Update assistants from Dell, HP, or Lenovo can get stuck in an endless checking loop. | Disable from startup; run them manually only when you need a firmware flash. |
To disable these, press Ctrl + Shift + Esc to open Task Manager, click the Startup apps icon (the small speedometer or puzzle piece icon on the left sidebar), right-click any app you don’t need running 24/7, and click Disable.
Real-Life Example: The Rogue Audio Driver Lag
A few months back, my friend called me because his gaming PC was hitching every time he moved his mouse after a security patch. We checked his CPU temps, ran disk cleanups, and cleared startup apps, but nothing worked.
I decided to check his device drivers. It turned out the Windows Update had forcibly overwritten his official graphics and audio drivers with generic Microsoft WHQL drivers.
Whenever his computer tried to play a notification sound, the generic driver caused a momentary system-wide latency spike (known as a DPC latency spike), making his whole machine stutter.
If your lag feels like stuttering or hitching rather than a consistent slow crawl, go to your laptop manufacturer’s website (or ASUS, MSI, Gigabyte if you built a desktop), download the latest official Chipset, Graphics, and Audio drivers, and install them manually. Overwriting Microsoft’s generic updates with official hardware drivers fixes a huge percentage of performance issues.
Final Thoughts
Windows 11 is a massive, complex piece of software running on millions of different hardware combinations. When an update drops, it’s almost a roll of the dice whether a setting gets shifted or a file gets corrupted.
Instead of jumping straight to a clean Windows reinstallation, taking twenty minutes to systematically clear out update caches, check your system files, and audit your power profiles will almost always bring your machine back to its snappy, responsive self. Give these steps a shot, take control of your system settings, and let your computer run at the speed it’s actually capable of.